Introduction
In my previous post, I introduced the Serverless React App series. I went over the outline for where the series is heading and what things will be covered. This is Part 1 of the series. Today I will quickly go through the creation of our react app. I want the main focus of this series to be around serverless architecture and what it takes to get an application deployed. Let's get started.
Table of Contents
- Introduction: Serverless React App
- Part I: React App with Material UI
- Part II: Lint, Test, & Build with CI/CD
- Part III: Deploying to AWS
Setup
First, create the react application using the npx command.
npx create-react-app serverless-react-app
cd serverless-react-app
npm start
Next, we need to add a few packages to our project. Let's add Material UI for the styling of our application and React Router DOM to navigate through the application.
npm install @material-ui/core npm install @material-ui/icons react-router-domTesting
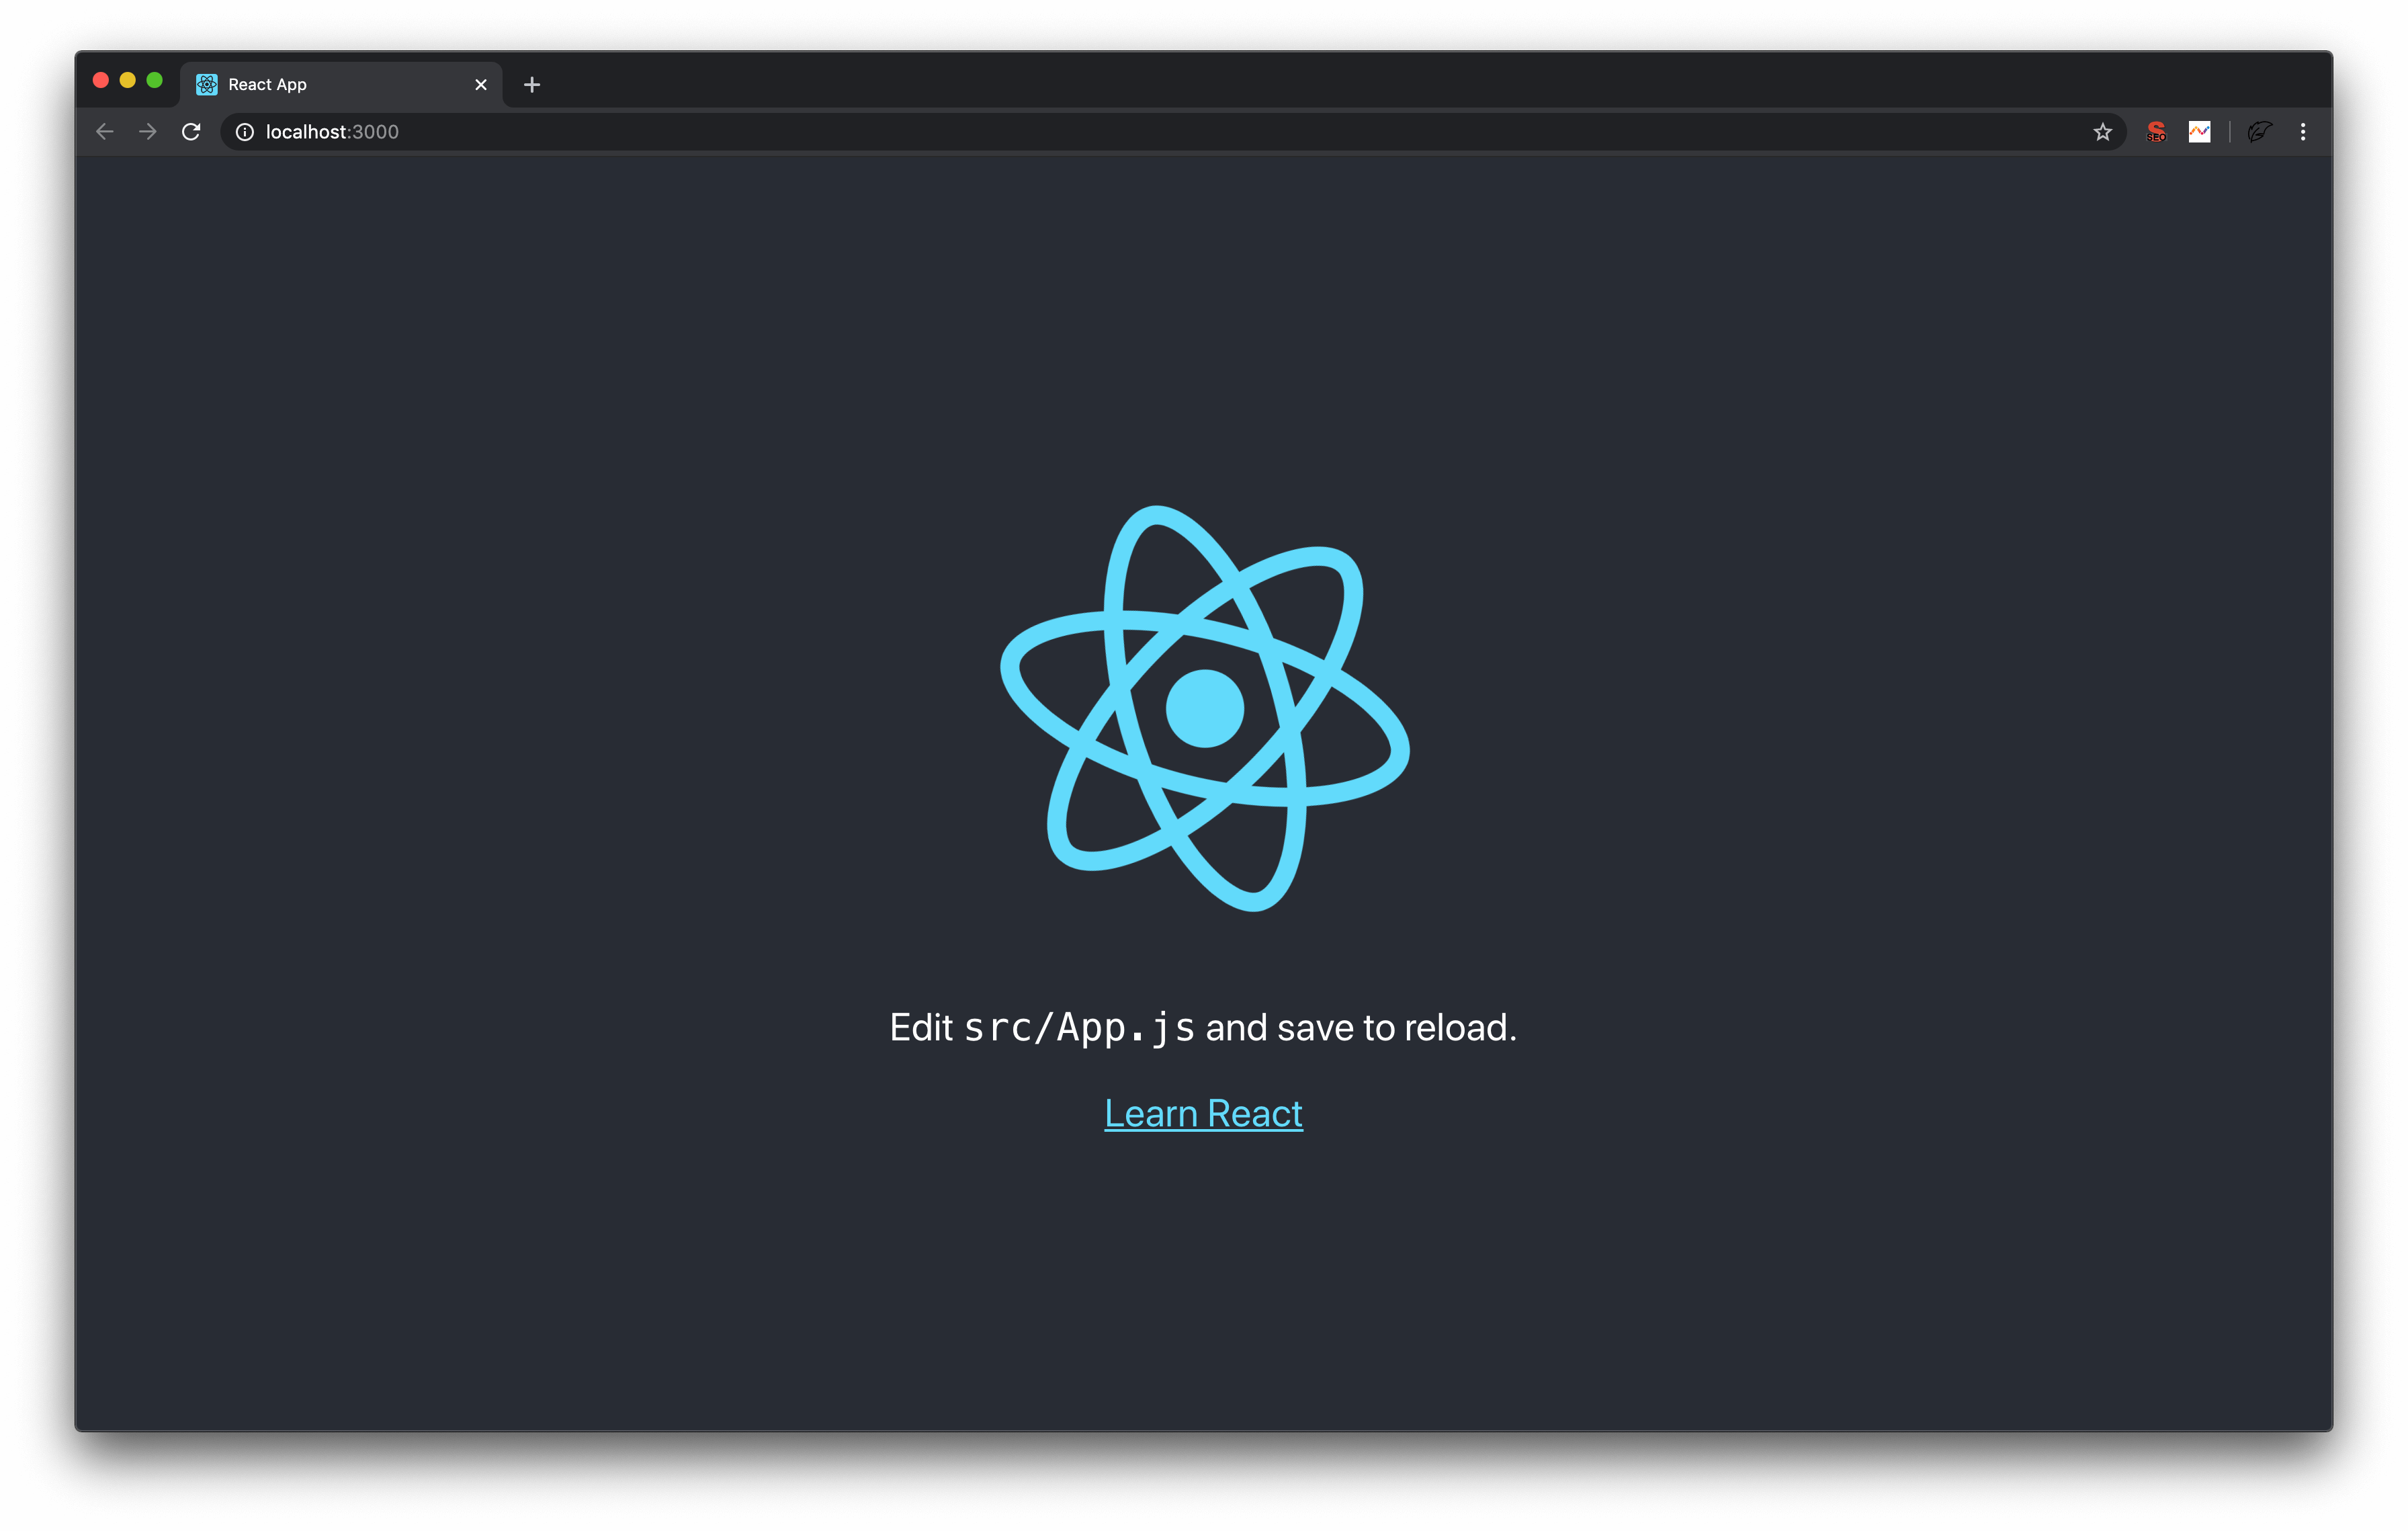
Most developers will tell you to test early and to test often, so let's start this application up and see what we get out of the box. Run npm start in the root of your project. After it has started, your browser should start automatically with the URL loaded, but if not, your terminal will provide you a local URL you can visit. You should see something that looks like this:

You can leave this running through your development as it watches for changes and reloads the browser for you. If you keep npm running, you will notice errors as you continue through this post until you reach the end.
Cleanup
- We need to delete a couple of things in preparation for our additions.
- Delete
index.css,App.css, andlogo.svg. - Create a
componentsdirectory insrcto start organizing our code. - In
index.js, remove the following line:import './index.css';
We can add an .editorconfig file to let our editor do a lot of the work for us when it comes to formatting our files.
root = true

[*]
charset = utf-8
indent_style = space
indent_size = 2
insert_final_newline = true
trim_trailing_whitespace = true

[*.md]
max_line_length = off
trim_trailing_whitespace = false
User Interface
Alright, enough of the boring prep work. We can now work on building out our UI. Here is a quick description of what we are going to do: define the top-level routes, include our styles, build the page layout, then build the pages.
import React from 'react';
import { BrowserRouter, Redirect, Route, Switch } from 'react-router-dom';
import { CssBaseline } from '@material-ui/core';
import NotFound from './layout/NotFound';
import Topbar from './layout/Topbar';
import Sidebar from './layout/Sidebar';
import Home from './application/Home';
import Account from './application/Account';
import { styles } from './theme.js';

export default function App() {
  const classes = styles();

  return (
    <div className={classes.root}>
      <BrowserRouter>
        <CssBaseline />
          <Topbar />
          <Sidebar />
          <main className={classes.content}>
            <div className={classes.toolbar} />

            <Switch>
              <Route exact path="/">
                <Redirect to="/home" />
              </Route>
              <Route path="/home" component={Home} />
              <Route path="/account" component={Account} />
              <Route component={NotFound} />
            </Switch>
        </main>
      </BrowserRouter>
    </div>
  );
}import { makeStyles } from '@material-ui/core/styles';
const drawerWidth = 240;
export const styles = makeStyles(theme => ({
root: {
display: 'flex',
},
appBar: {
zIndex: theme.zIndex.drawer + 1,
},
drawer: {
width: drawerWidth,
flexShrink: 0,
},
drawerPaper: {
width: drawerWidth,
},
content: {
flexGrow: 1,
padding: theme.spacing(3),
},
toolbar: theme.mixins.toolbar,
}));import React from 'react';
import { Link } from 'react-router-dom';
import {
Drawer,
Divider,
List,
ListItem,
ListItemIcon,
ListItemText,
} from '@material-ui/core';
import AccountCircle from '@material-ui/icons/AccountCircle';
import Error from '@material-ui/icons/Error';
import Home from '@material-ui/icons/Home';
import { styles } from '../theme.js';
export default function Sidebar() {
const classes = styles();
return (
<Drawer
className={classes.drawer}
variant="permanent"
classes={{
paper: classes.drawerPaper,
}}
>
<div className={classes.toolbar} />
<List>
<ListItem button component={Link} to="/home">
<ListItemIcon>
<Home />
</ListItemIcon>
<ListItemText primary="Home" />
</ListItem>
<ListItem button component={Link} to="/account">
<ListItemIcon>
<AccountCircle />
</ListItemIcon>
<ListItemText primary="Account" />
</ListItem>
<Divider />
<ListItem button component={Link} to="/not-found">
<ListItemIcon>
<Error />
</ListItemIcon>
<ListItemText primary="Not Found" />
</ListItem>
</List>
</Drawer>
);
}import React from 'react';
import { AppBar, Toolbar, Typography } from '@material-ui/core';
import { styles } from '../theme.js';
export default function Topbar() {
const classes = styles();
return (
<AppBar position="fixed" className={classes.appBar}>
<Toolbar>
<Typography variant="h6" noWrap>
Serverless React Application
</Typography>
</Toolbar>
</AppBar>
);
}import React from 'react';
import { Typography } from '@material-ui/core';
export default function Account() {
return (
<div>
<Typography variant="h4" gutterBottom>
Account
</Typography>
<Typography paragraph>
Consequat mauris nunc congue nisi vitae suscipit. Fringilla est ullamcorper eget nulla
facilisi etiam dignissim diam. Pulvinar elementum integer enim neque volutpat ac
tincidunt. Ornare suspendisse sed nisi lacus sed viverra tellus. Purus sit amet volutpat
consequat mauris. Elementum eu facilisis sed odio morbi. Euismod lacinia at quis risus sed
vulputate odio. Morbi tincidunt ornare massa eget egestas purus viverra accumsan in. In
hendrerit gravida rutrum quisque non tellus orci ac. Pellentesque nec nam aliquam sem et
tortor. Habitant morbi tristique senectus et. Adipiscing elit duis tristique sollicitudin
nibh sit. Ornare aenean euismod elementum nisi quis eleifend. Commodo viverra maecenas
accumsan lacus vel facilisis. Nulla posuere sollicitudin aliquam ultrices sagittis orci a.
</Typography>
</div>
);
}import React from 'react';
import { Typography } from '@material-ui/core';
export default function Home() {
return (
<div>
<Typography variant="h4" gutterBottom>
Home
</Typography>
<Typography paragraph>
Lorem ipsum dolor sit amet, consectetur adipiscing elit, sed do eiusmod tempor incididunt
ut labore et dolore magna aliqua. Rhoncus dolor purus non enim praesent elementum
facilisis leo vel. Risus at ultrices mi tempus imperdiet. Semper risus in hendrerit
gravida rutrum quisque non tellus. Convallis convallis tellus id interdum velit laoreet id
donec ultrices. Odio morbi quis commodo odio aenean sed adipiscing. Amet nisl suscipit
adipiscing bibendum est ultricies integer quis. Cursus euismod quis viverra nibh cras.
Metus vulputate eu scelerisque felis imperdiet proin fermentum leo. Mauris commodo quis
imperdiet massa tincidunt. Cras tincidunt lobortis feugiat vivamus at augue. At augue eget
arcu dictum varius duis at consectetur lorem. Velit sed ullamcorper morbi tincidunt. Lorem
donec massa sapien faucibus et molestie ac.
</Typography>
</div>
);
}import React from 'react';
import { Typography } from '@material-ui/core';
export default function NotFound() {
return (
<div>
<Typography variant="h4" gutterBottom>
404
</Typography>
<Typography paragraph>
Page not found.
</Typography>
</div>
);
}Testing
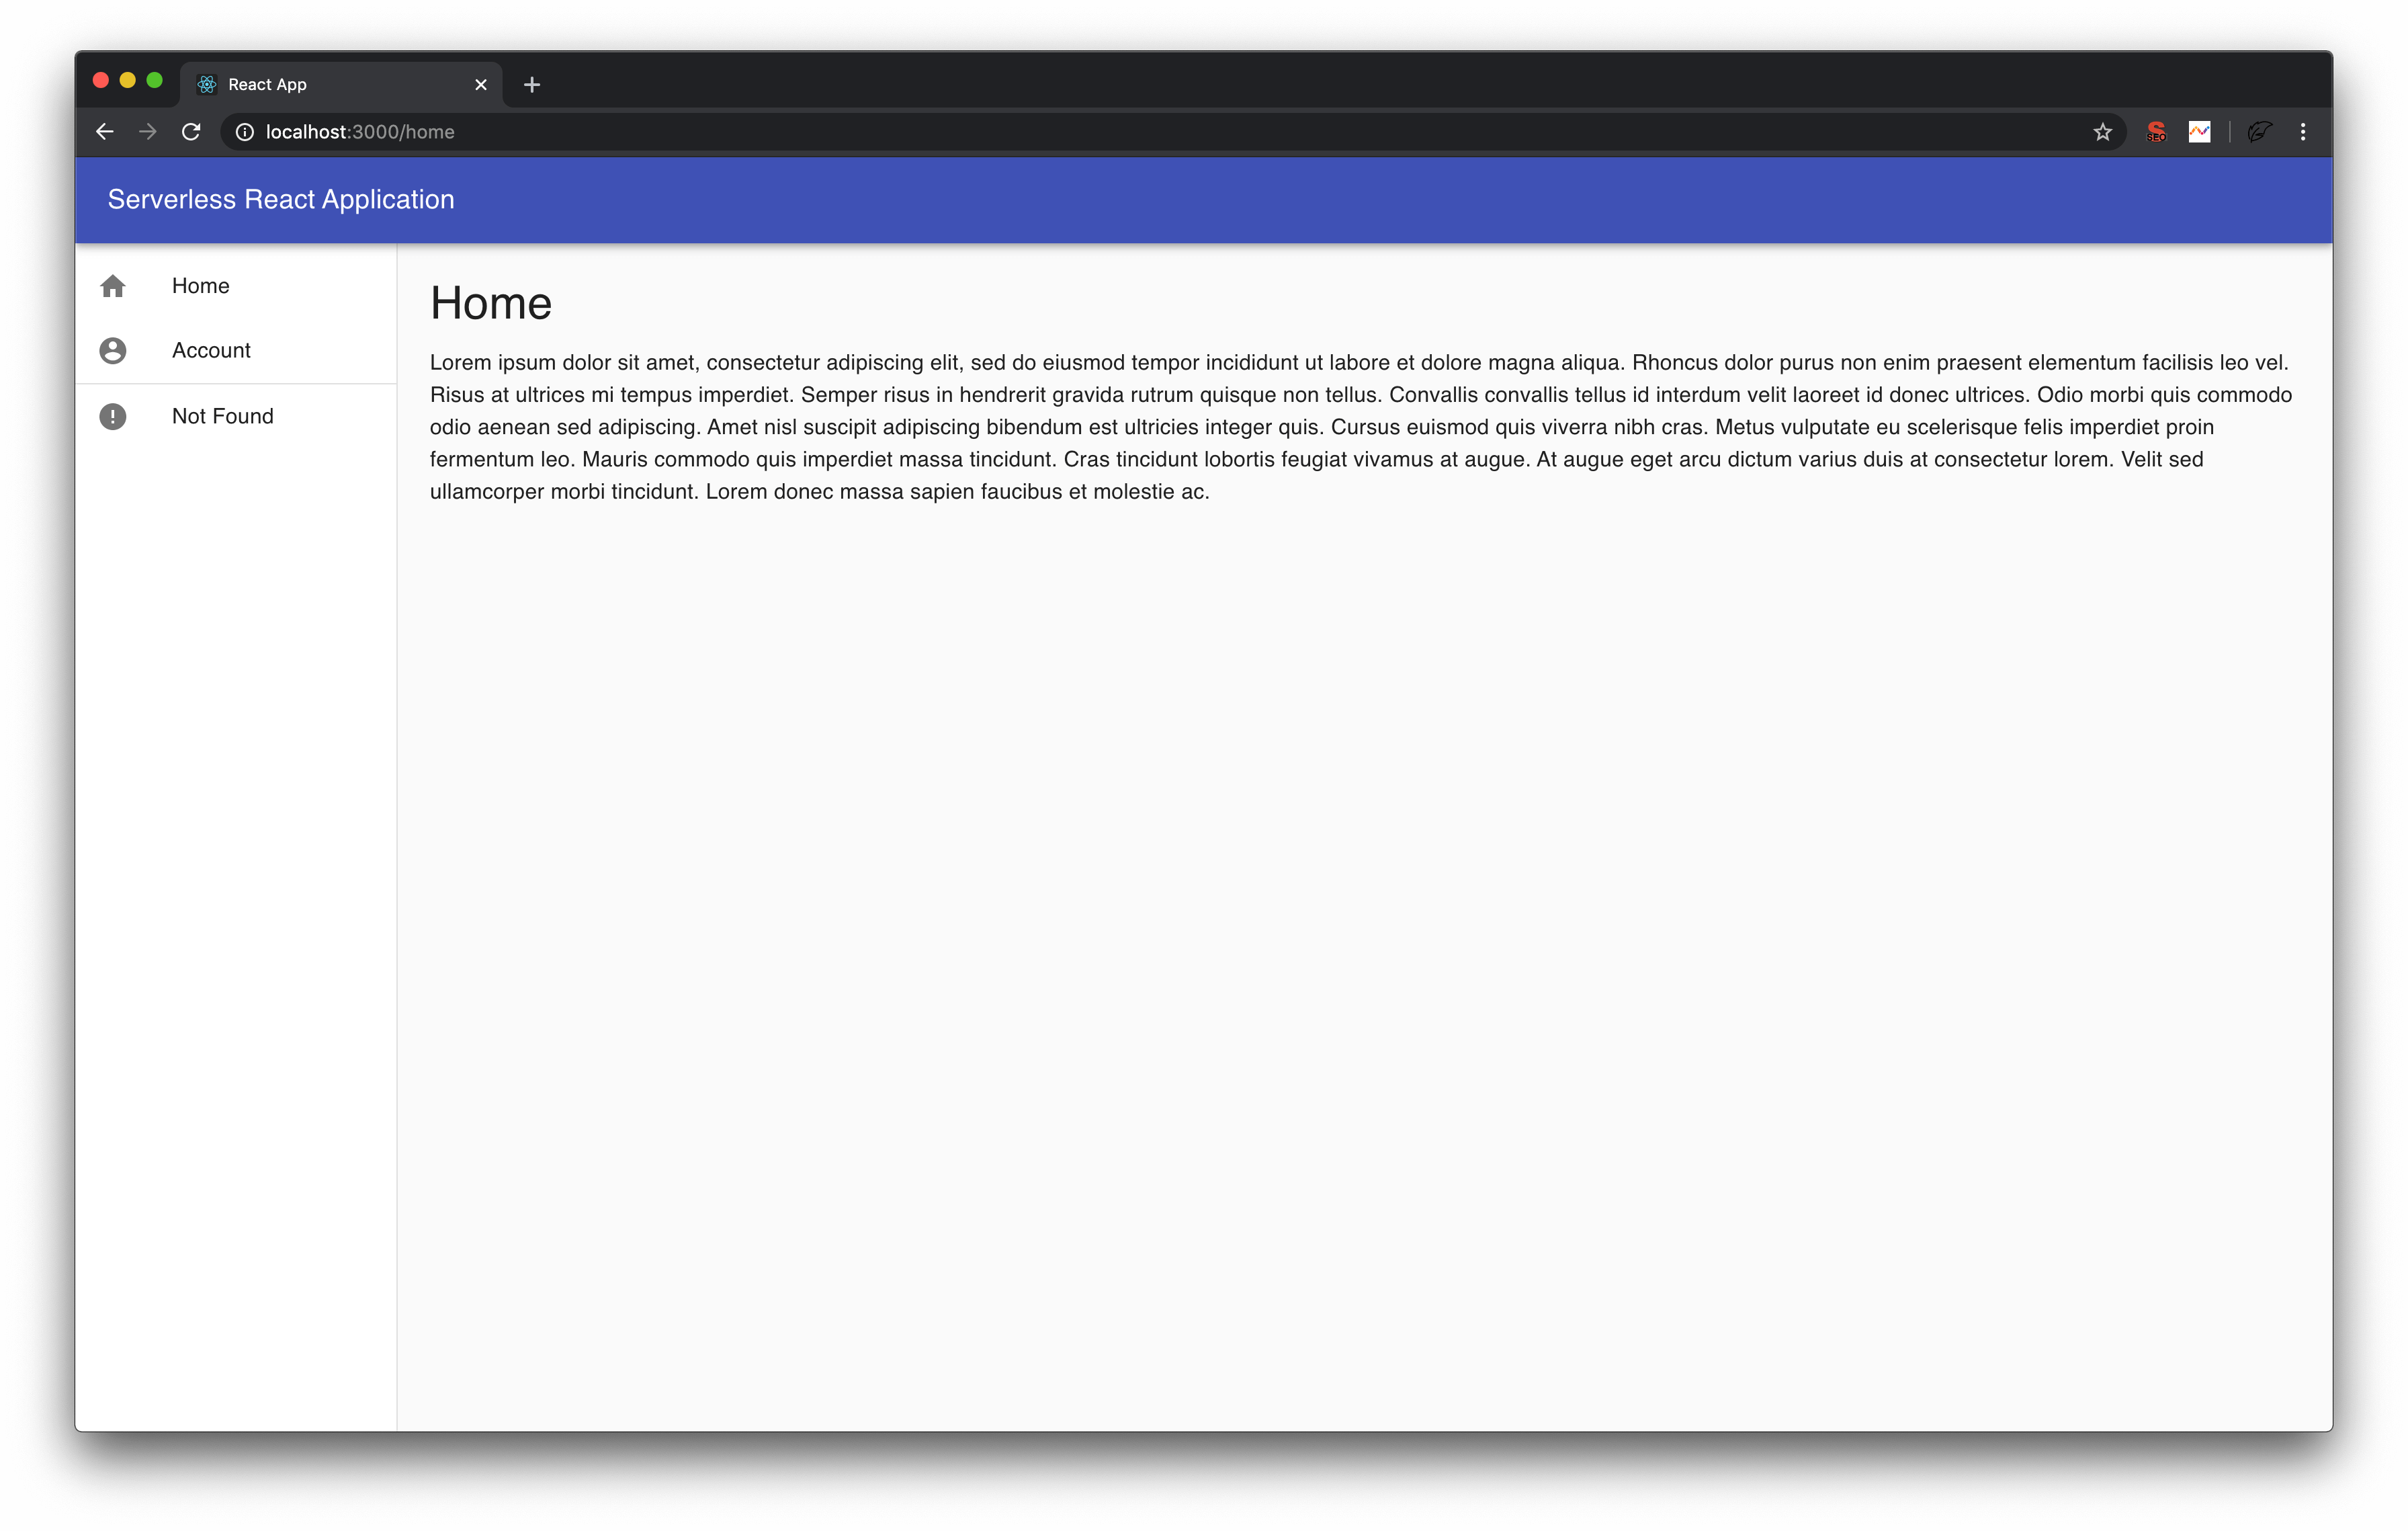
Now that we have all our files in our application built out. Let's start it back up. Run npm start again and see what we get. You should see something that looks like this:

If you run into problems, make sure to check all file paths are correct, and everything is named correctly.
Download the Part I project here.
So there it is, our simple react app. In the next post, we will add linting, testing, and start building out our CI/CD pipeline. Stay tuned for part II.
Community
If you have questions, comments, concerns, please voice them on Twitter.